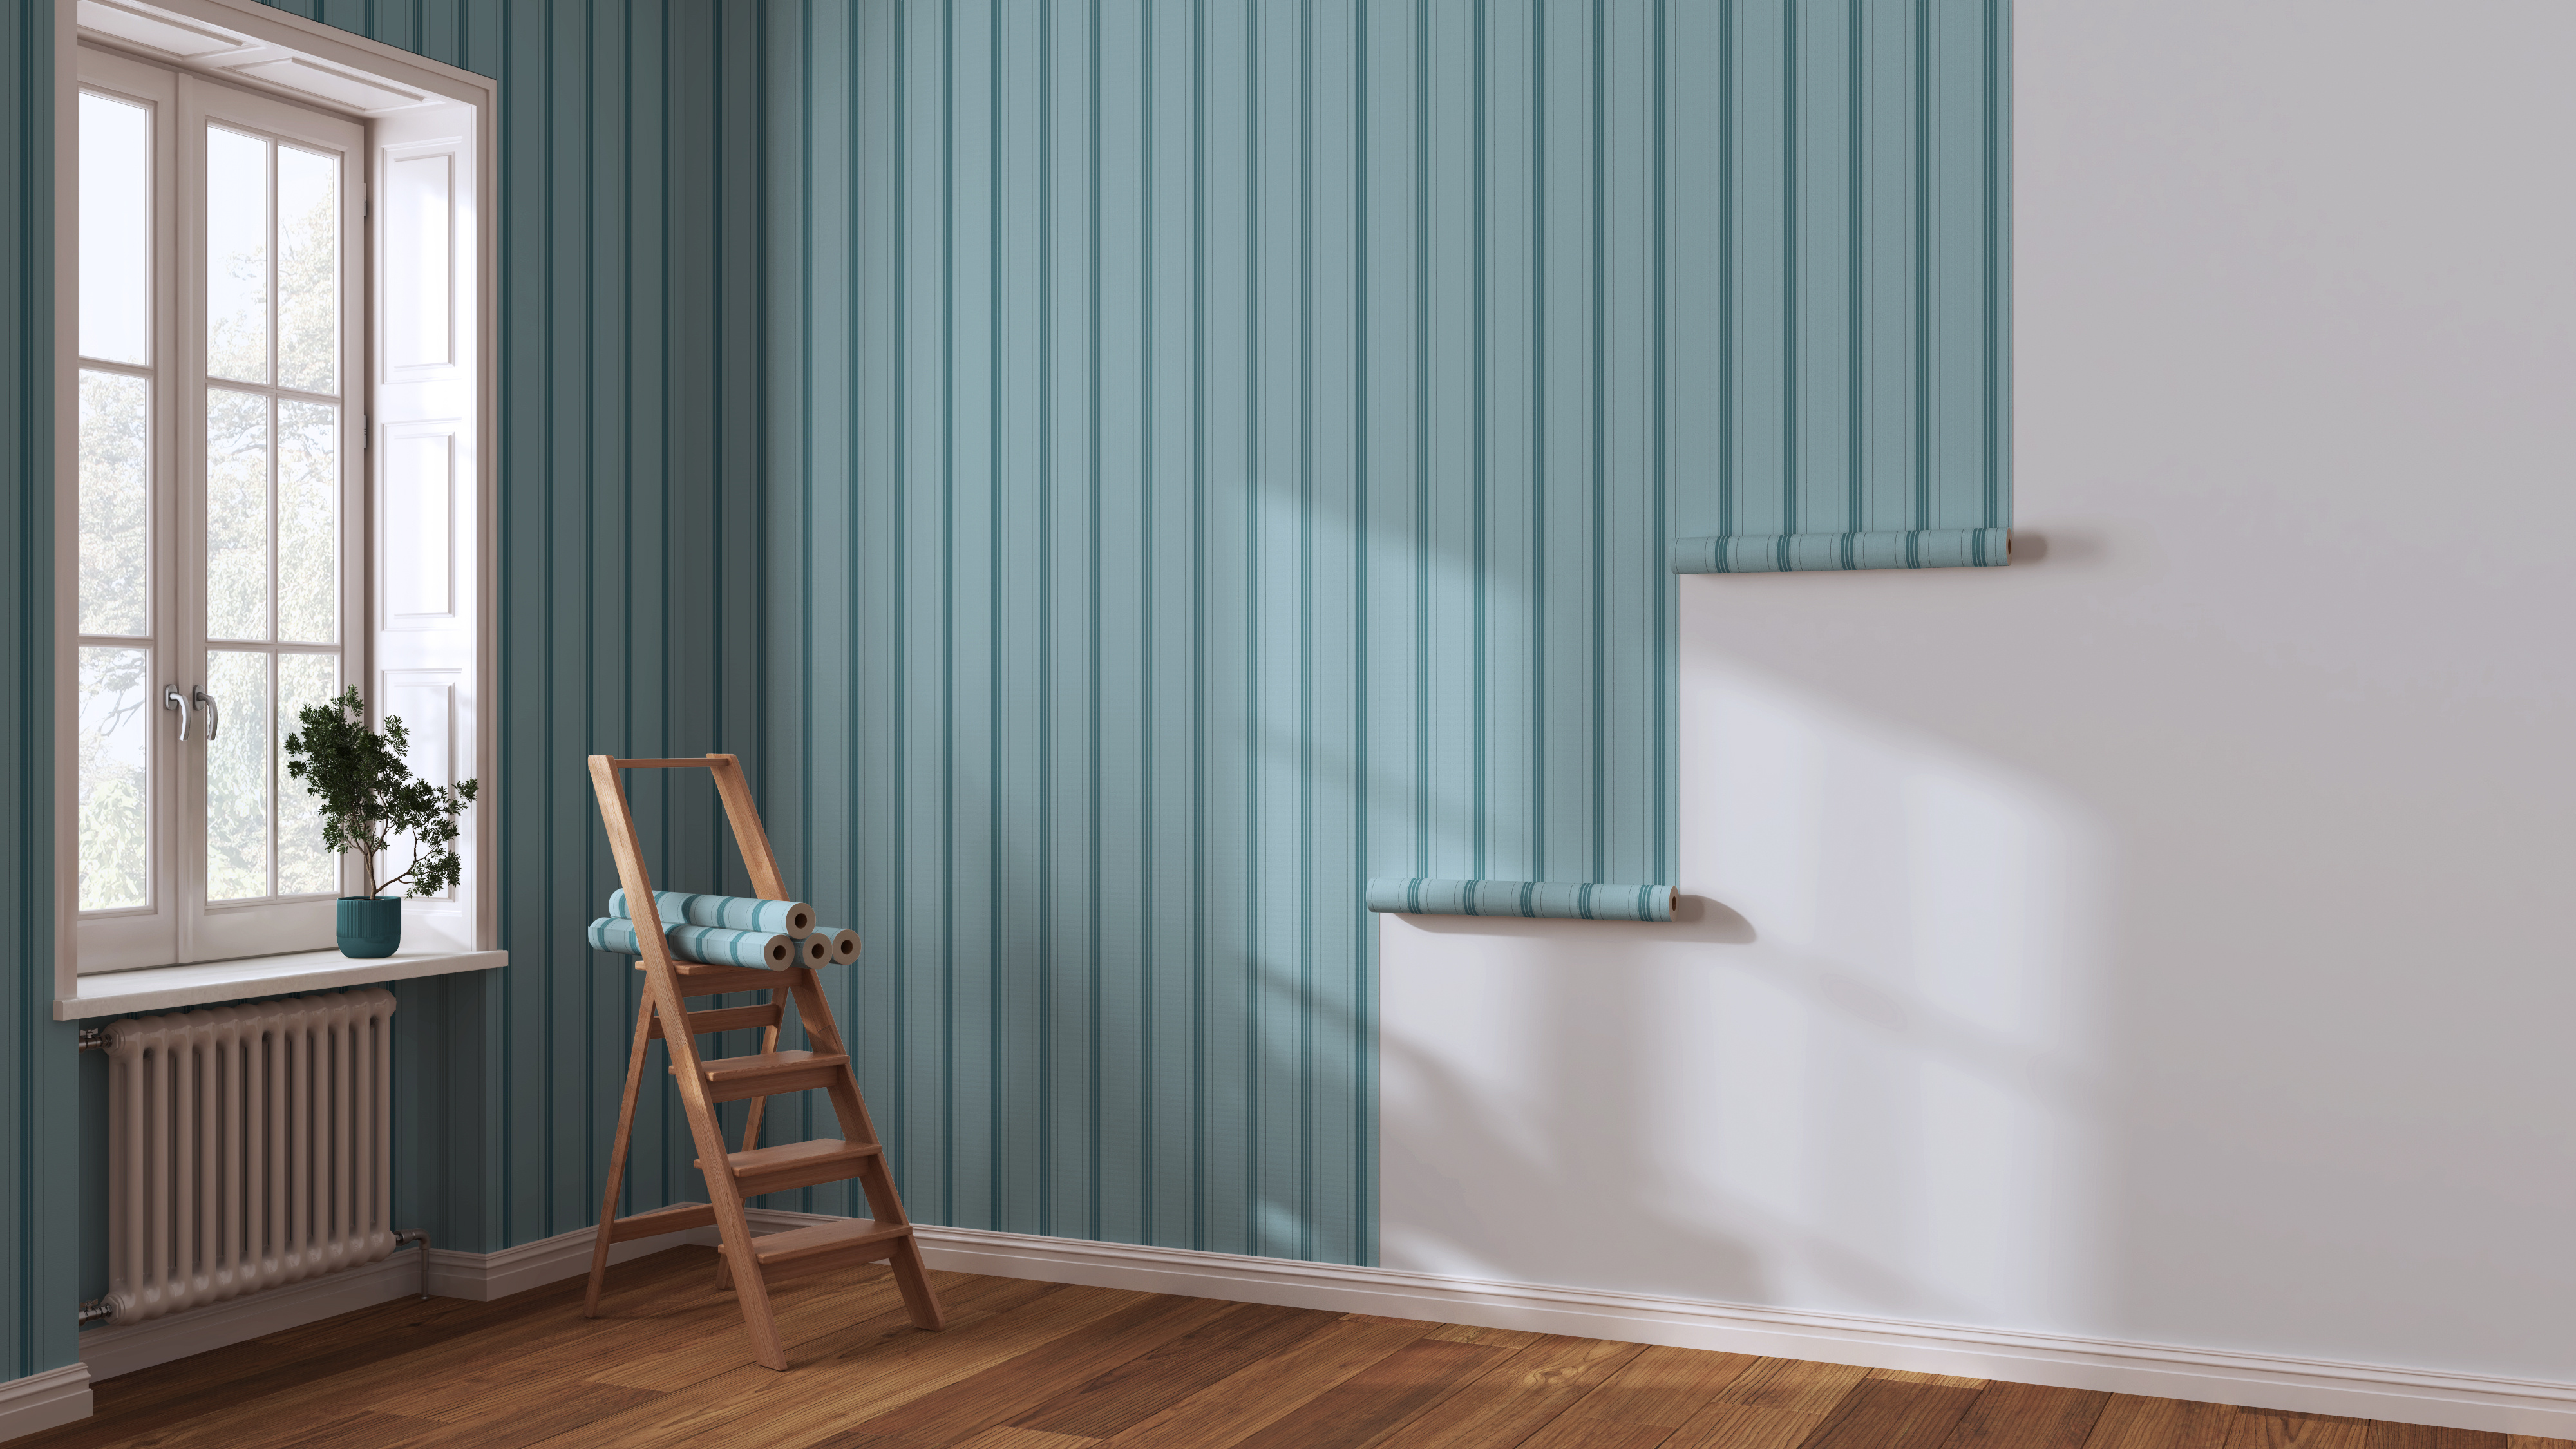
Transform Your Space: A Step-by-Step Guide to Installing Self-Adhesive Wallpaper by Black Dog Decals
Posted by Kevin Deleu on Apr 26th 2024
Introduction
Are you looking to elevate the ambiance of your living space with a fresh, stylish makeover? Look no further than self-adhesive wallpaper by Black Dog Decals. Installing wallpaper has never been easier, and with our step-by-step guide, you'll be able to transform your walls in no time. Say goodbye to dull, uninspiring rooms and hello to a space that reflects your unique style and personality. Let's dive into the process of installing self-adhesive wallpaper and unleash your creativity!
Step 1 - Gather Your Materials
Before you embark on your wallpaper installation journey, make sure you have all the necessary materials on hand:
Step 2 - Prepare the Surface
Preparing the surface is crucial for a successful wallpaper installation. Ensure your walls are clean, smooth, and free from any dust or debris. Repair any cracks or imperfections, and if the walls were previously painted, make sure the surface is dry and in good condition.
Step 3 - Measure and Cut
Measure the height of your wall and cut the wallpaper accordingly, leaving a few extra inches at the top and bottom for adjustments. Use a level and pencil to mark vertical guidelines on the wall to aid in alignment.
Step 4 - Peel and Stick
Starting at the top of the wall, peel a small portion of the backing from the top of the wallpaper. Align the top edge with the guideline, ensuring it is straight. Gradually peel off the backing while pressing the wallpaper onto the wall, smoothing out any bubbles or wrinkles as you go.
Step 5 - Align and Adjust
Use the level periodically to ensure the wallpaper is straight and aligned. If needed, gently peel off and reposition the wallpaper to make adjustments.
Step 6 - Trim Excess
Once you reach the bottom of the wall, use a utility knife or scissors to trim any excess wallpaper, ensuring a precise cut along the baseboard or floor line.
Step 7 - Repeat for Additional Strips
If your wall requires more than one strip of wallpaper, repeat the process, ensuring proper alignment with the previous strip and matching patterns if applicable.
Step 8 - Smooth Out Bubbles
Use a smoothing tool or squeegee to eliminate any air bubbles or wrinkles, starting from the center and pushing outward towards the edges.
Step 9 - Final Trim and Edges
Trim any remaining excess wallpaper along corners, edges, or around obstacles. Double-check edges and corners to ensure a clean finish.
Step 10 - Allow to Set
Allow the wallpaper to set and adhere properly, following any specific recommendations provided by Black Dog Decals regarding drying or setting times.
Step 11 - Clean Up
Clean any adhesive residue or marks using a mild cleaning solution appropriate for the wallpaper material, and voila! Your walls are now adorned with stunning self-adhesive wallpaper by Black Dog Decals, transforming your space into a haven of style and creativity.
Conclusion
With Black Dog Decals' self-adhesive wallpaper and our easy-to-follow installation guide, you can effortlessly revamp your space and infuse it with personality and charm. Say goodbye to boring walls and hello to a home that truly reflects your unique taste. Get ready to unleash your creativity and transform your space into a work of art with Black Dog Decals.

